
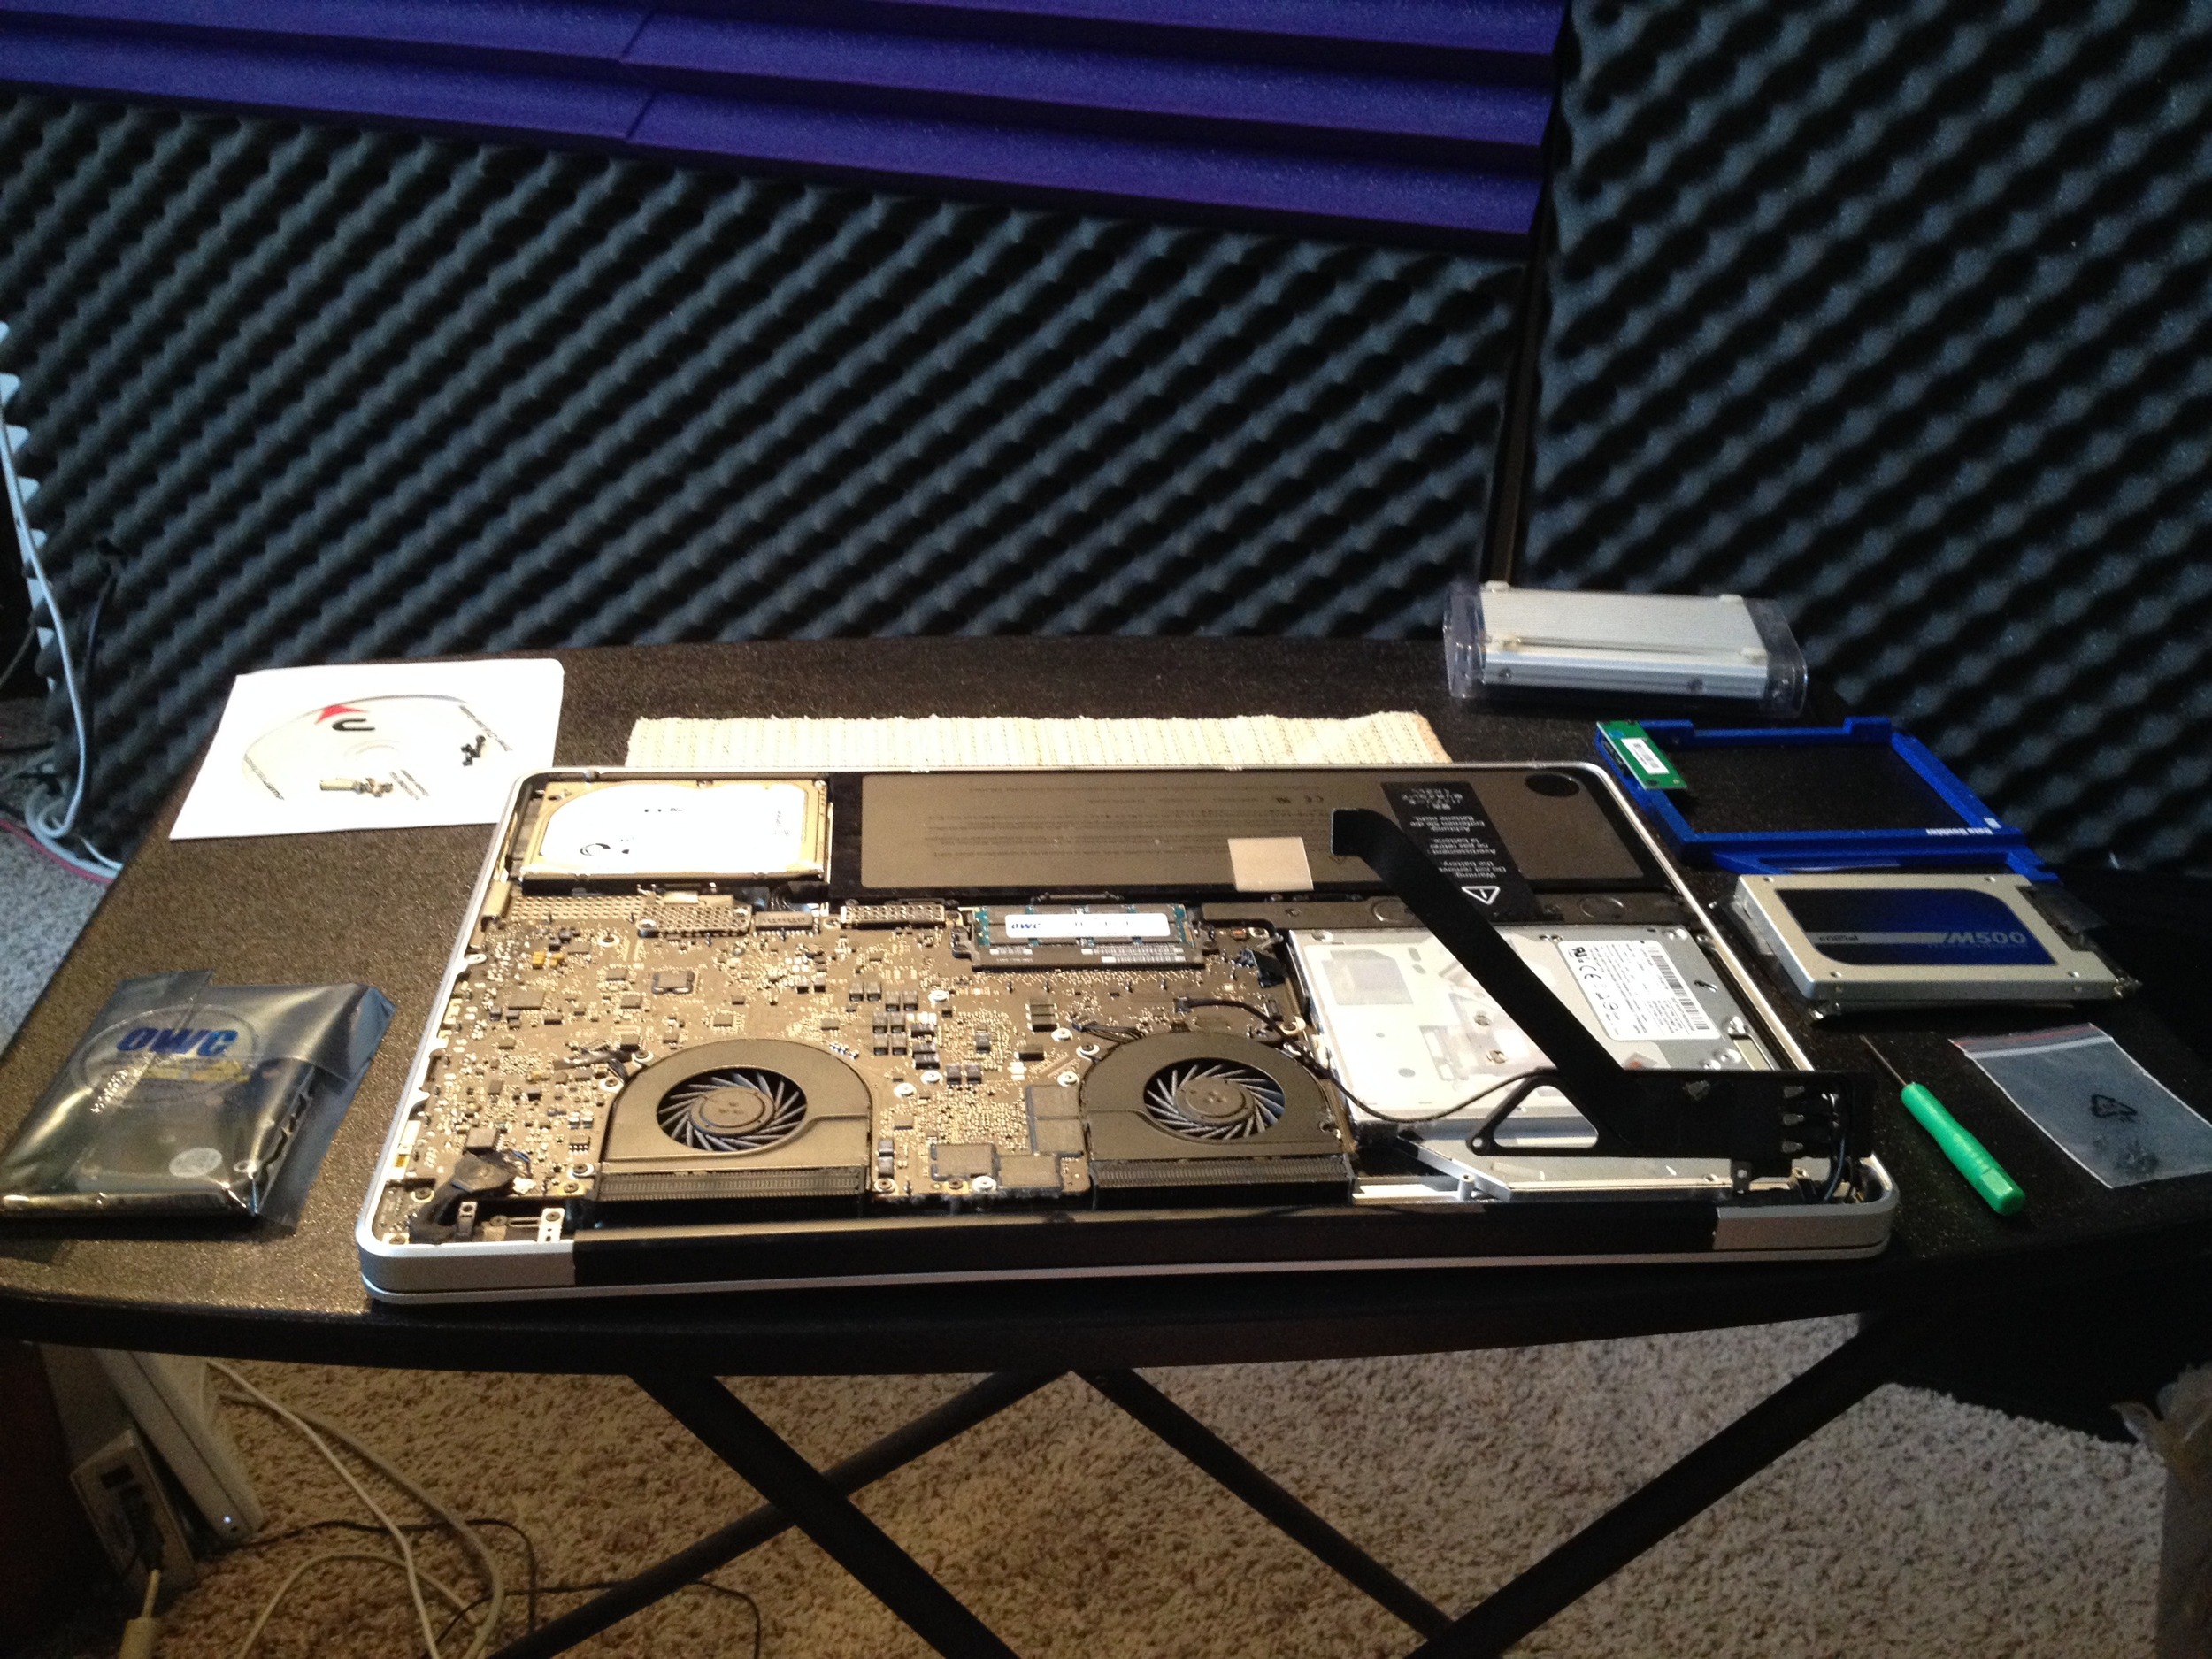
Laptop upside down, bottom removed and ready for the upgrade
For a couple years now I’ve been hearing about the benefits of SSDs (Solid State Drives). If you don’t know about these yet, it is fast very reliable RAM memory in the form factor and electrical configuration of a computer hard drive but since it’s all RAM chips: no moving parts! No physical spinning platter in your drive means no read/write head seek time which means a huge increase in speed. I’ve not tested my system just yet but I hear you can do a cold boot in something like 20 seconds instead of a minute and a half!
Because I’m a freelance audio engineer guy now I bought the most capable (for audio recording) laptop at the time: a 17” MacBook Pro. Last year I upgraded the internal hard drive from the standard 500GB to a 750GB because in order to mirror the setup I have at home and at the studio I needed a larger, faster drive to record a lot of 24-bit tracks at once and acommodate the large virtual instrument library files I had been getting for Kontakt 5, Battery 4 and the like. This drive had 128GB of flash RAM on the drive that acts as a temp buffer for recently accessed files and I noticed a definite speed increase when it came to opening and closing projects in Digital Performer.
I have to send a huge shout out to OWC computing “www.macsales.com” for their line of products and tutorials that make this such a relatively easy undertaking. It’s not so easy your Mom could do it but if you have experience taking things apart, keeping track of lots of little screws and can follow directions (written by people who actually know English!!!) it’s not that tough.
The package you go for is this: buy a new, faster hard drive and an empty drive enclosure from them and they include all the tools you’ll need, an illustrated booklet with step-by-step directions and if that’s not enough they’ve got videos of someone doing the install on their website, awesome!
The procedure is this: take the new drive and temporarily install it in the new enclosure. Hook it up to your Mac and format it for Mac OS X extended (journaled). Do NOT use the “Case Sensitive” option as that can have negative downstream effects later if you try and do anything with Windows formatted drives hooked up to your system.
Next you run a copy of a program called “Carbon Copy Cloner” which will make an exact copy of your current internal startup drive onto the new drive in the external enclosure. This is a bootable startup volume that is indistinguishable in all but the drive name from the original. Some applications will detect this change and require you to reauthorize them on the new drive by typing in a serial number or putting in your original install CD but other than that when you boot off the clone it will look exactly like ‘your’ Mac right down to the clutter on the desktop!
Once you’ve verified the clone is bootable, you can open the computer back up and swap drives so your older, smaller drive is in the external enclosure and the new larger drive is in the internal drive bay. Fairly straight ahead, but is that good enough for me? Nooooooooo!!!
Music projects have big data footprints on your drive and video projects are 20x that! Since it seems to be a law of digital ‘nature’ that “data expands to fill the available space”. I purchased a 960GB Crucial SSD which should give me some breathing room (you never want to run a drive up anywhere close to full-huge performance hit) but I still don’t really have comfortable room to store a lot of projects, especially HD video ones.
Once again OWC to the rescue! They have a package you can get where you can remove your optical drive (which I still need to make client CDs and DVDs) and put it into an external enclosure that connects via USB. They also make a special bracket that you can use to mount a traditional 2.5” notebook hard drive in and use the optical disk’s data wiring to have two physical drives inside your Macbook. So I bought the bracket and a 1TB standard drive that will go in the (formerly) optical drive bay. It’s important to note that you should be using 7200rpm drives if you’re wanting to record or play back projects with a lot of tracks or HD video.
One of the huge benefits of doing a clone of your internal startup drive is that if your disk gets physically damaged in a fall or just data corruped, you can just plug up the cloned external drive and be up and running again in two minutes!